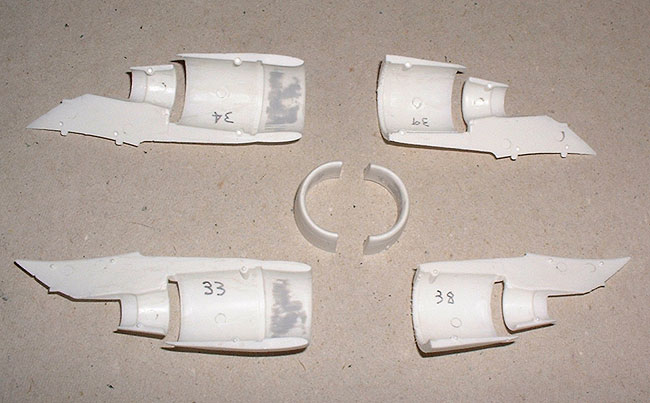
It would have been damn
near impossible to eliminate the seam on the inside of
the engine nacelles with the engines assembled and the
fans in place. I decided to cut off the area in front
of the fans so that they could be filled and sanded more
easily then glued on after the nacelle halves were assembled.
This was pretty easy and well worth it as unsightly seams
would have been very obvious in the large intakes.
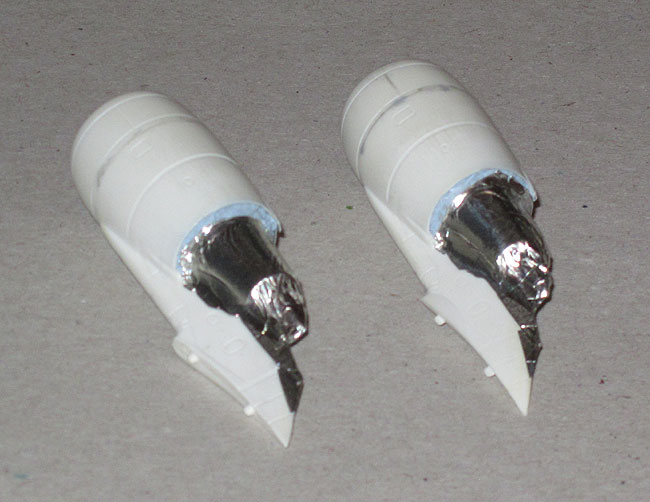
Areas that were to be finished
in Metalizers were masked off with Bare Metal Foil and
Blue Tack before the Halford's White was sprayed on the
rest of the nacelles. Cardboard disks sealed the engine
fans to prevent getting overspray on them. Curiously,
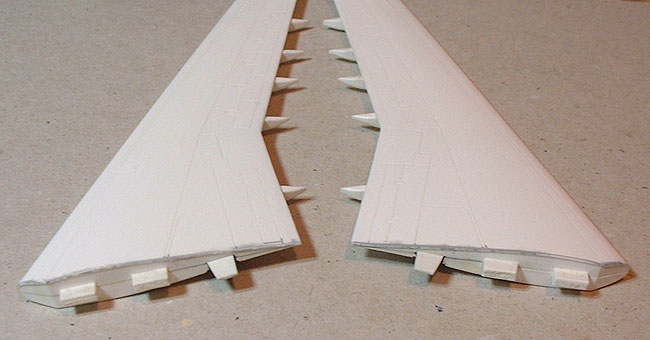
some of the moulds looked like they hadn't been finished
properly by Revell - there were noticeable striations
in the pastic of many parts. It almost looked like they
had forgotten to polish the moulds after cutting them.
The areas that were to be natural metal on the engines
were some of the worst for this (of course they would
be, wouldn't they?!) so they had to be sanded and polished
to smooth them out for the metal finish.
Test fitting the wings
revealed them to have a silly amount of dihedral so .010"
x .020" plastic strips were glued on the tops of
the wing roots to correct this.
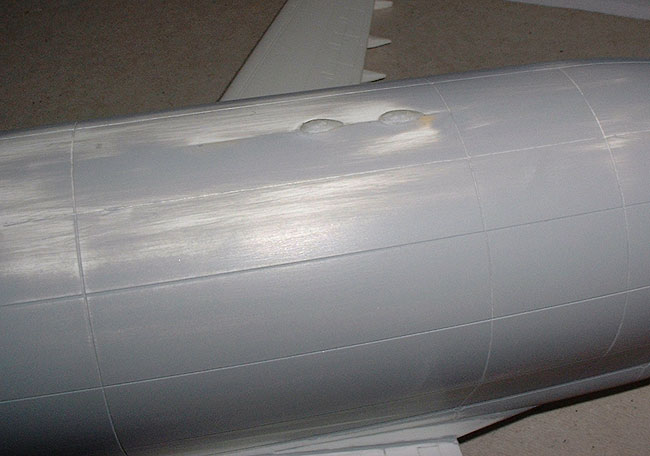
The two streamlined lumps
were moulded on one fuselage half which made seam filling
around them a bit of a bitch. I sanded these off completely
then replaced them with scratchbuilt items after I was
happy with the fuselage seam. The grossly overscale panel
lines are evident here. Several more coats of primer did
little to reduce them.