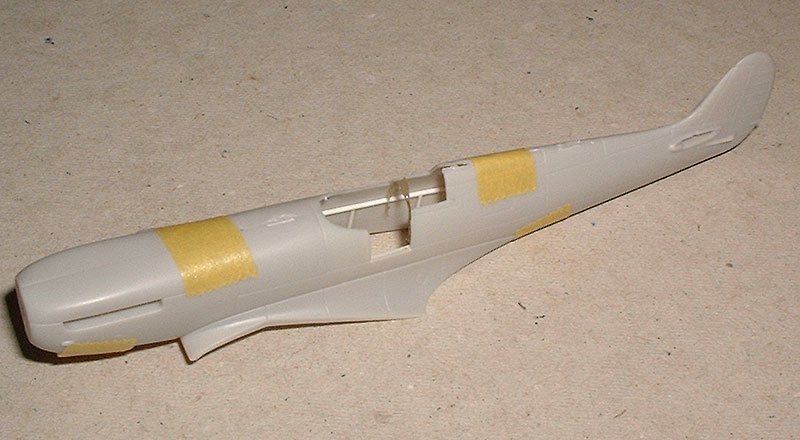
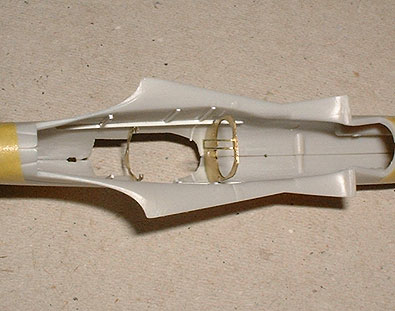
Above
and below: Fuselage halves taped together
to check the fit of the photo etched frames.
Above: Basic fuselage construction completed.
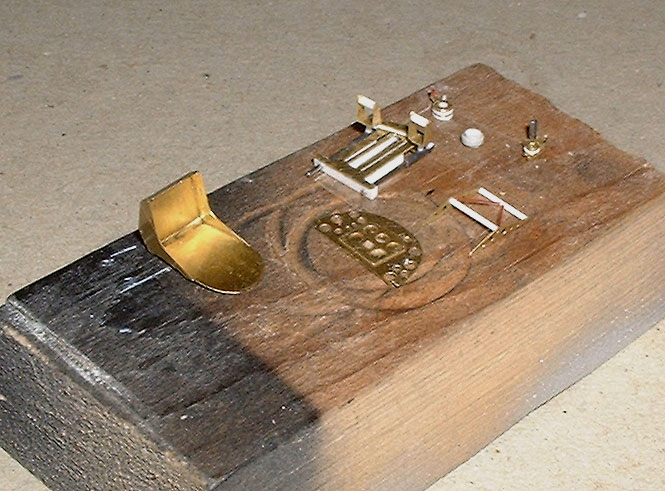
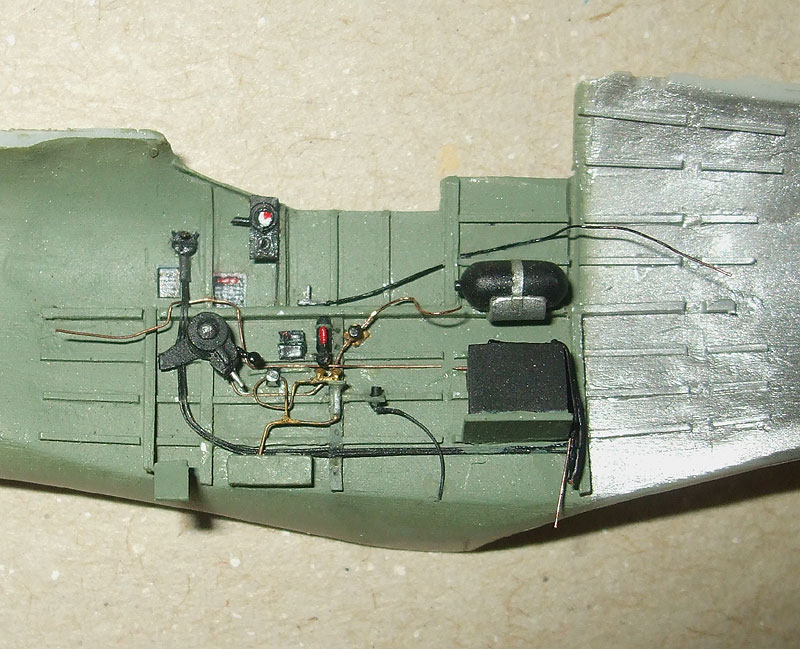
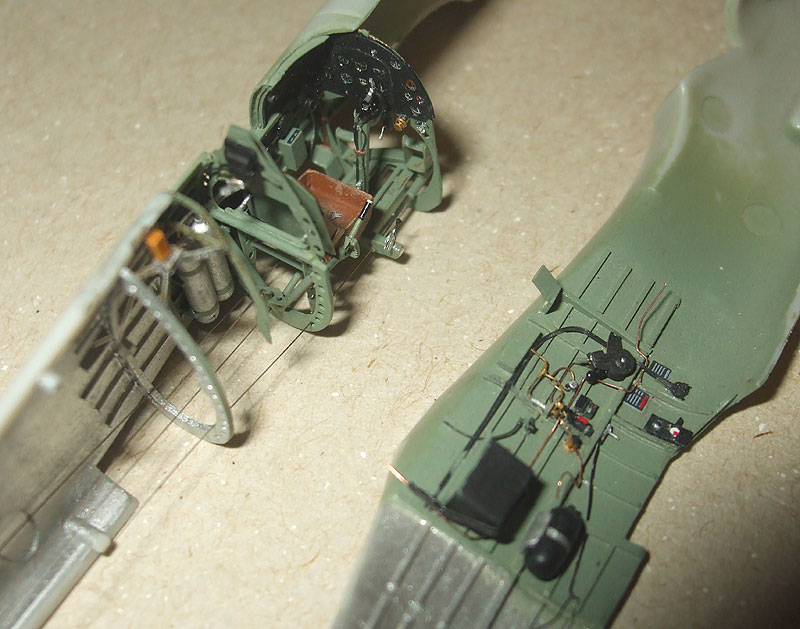
Below:
Photo etched parts embellished with plastic where
necessary. Shown are the landing gear / flap control,
compass, throttle, seat frame, instrument panel,
seat, and heelboards with rudder pedals.
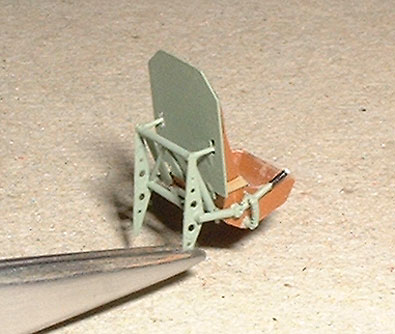
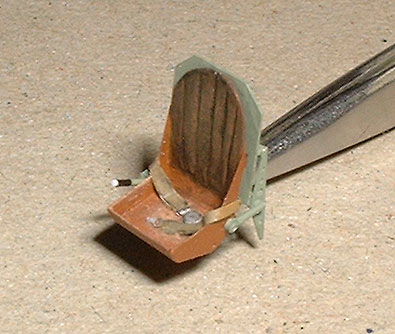
Above
left: Completed seat with armour plate
and frame from etched brass. Adjusting lever and frame
cross members are .015” plastic rod. Note the adjustment
ratchet from a quarter section of a watch gear. Above
right: Front view of seat showing the
cushion made from Mr. Dissolved Putty.
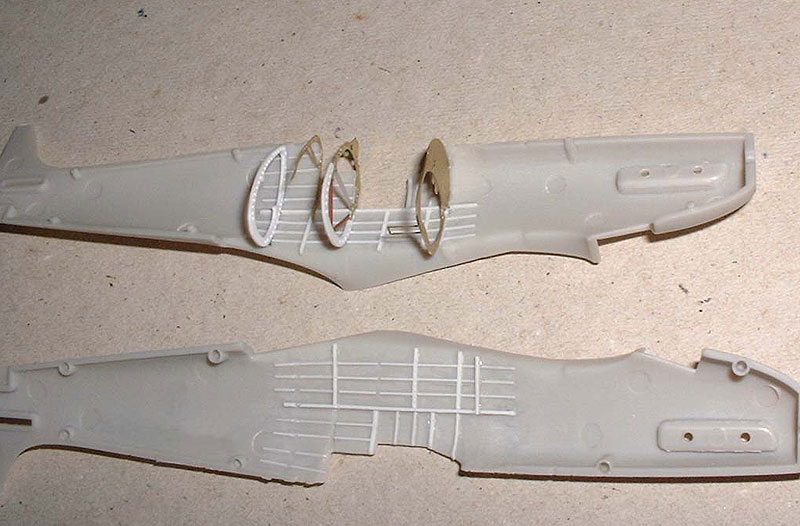
Completed right fuselage
half.
Completed left fuselage
half. Much of this detail was invisible on the completed
model but the fun was more in the creating than the final
effect!
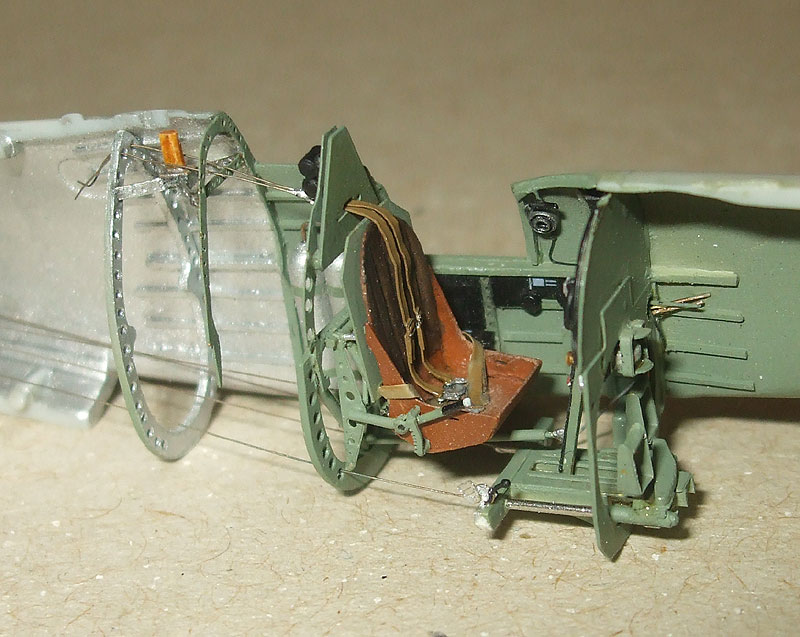
Both fuselage halves ready
for assembly. Constant test fitting during the build ensured
there were no unpleasant surprises at this stage.
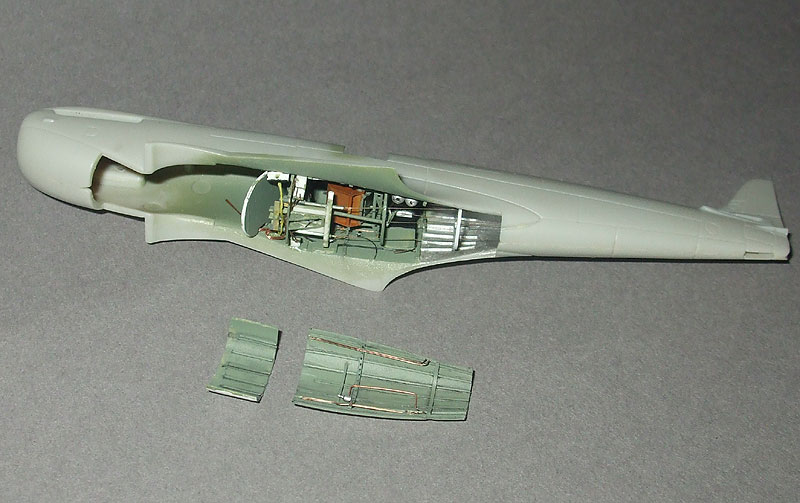
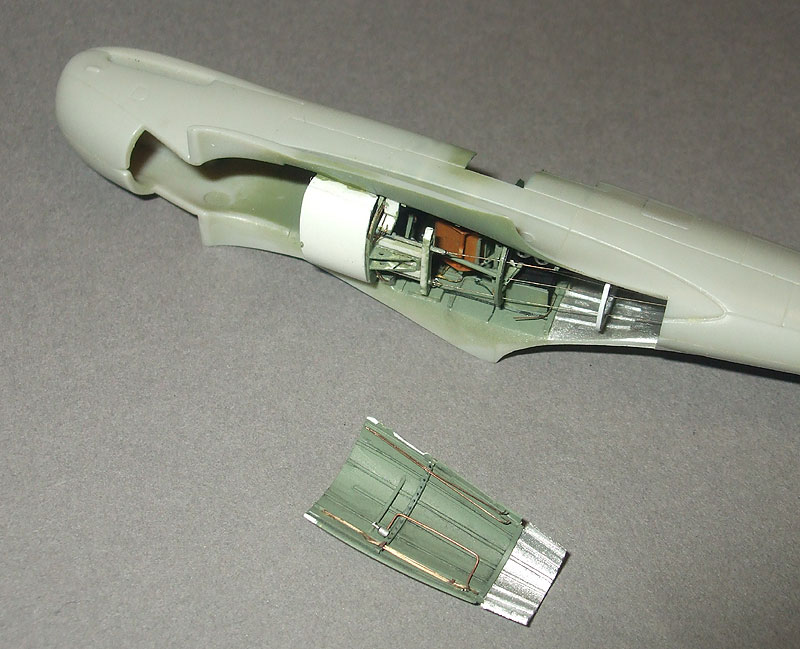
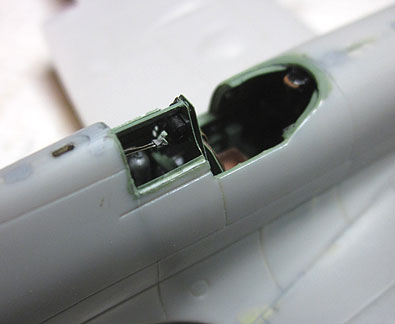
Vac formed cockpit bottom
detailed with plastic strip, rod and copper wire.
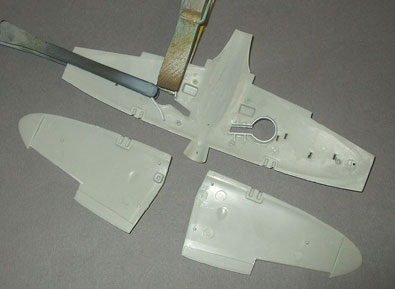
The vac formed part wouldn’t
fit over the forward photo etched frame so the moulding
was cut into two and glued on either side of the frame.
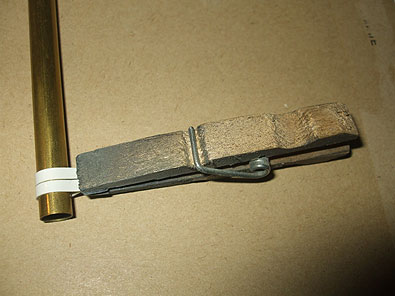
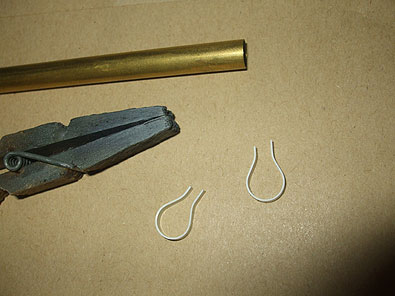
.020”
sheet was clamped around a brass tube and immersed in
near boiling water for a few seconds to set the shape
of the wheel well sides. The formed plastic was much easier
to glue to the wheel wells.
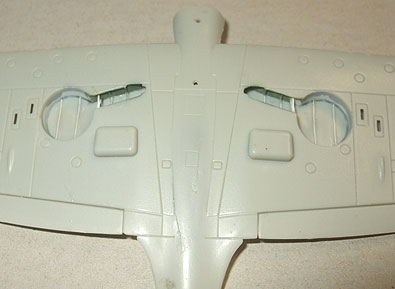
Above
left: Wheel well sidewalls held in place
while the liquid poly cement works its magic. Note the
triangular braces on the finished port wheel well to stop
the sidewalls breaking off when they are sanded to fit
the upper wing half. Above
right: Wheel wells finished and wing halves
assembled. Ribs are from .005” strip and sidewalls
blended in with Mr. Surfacer.
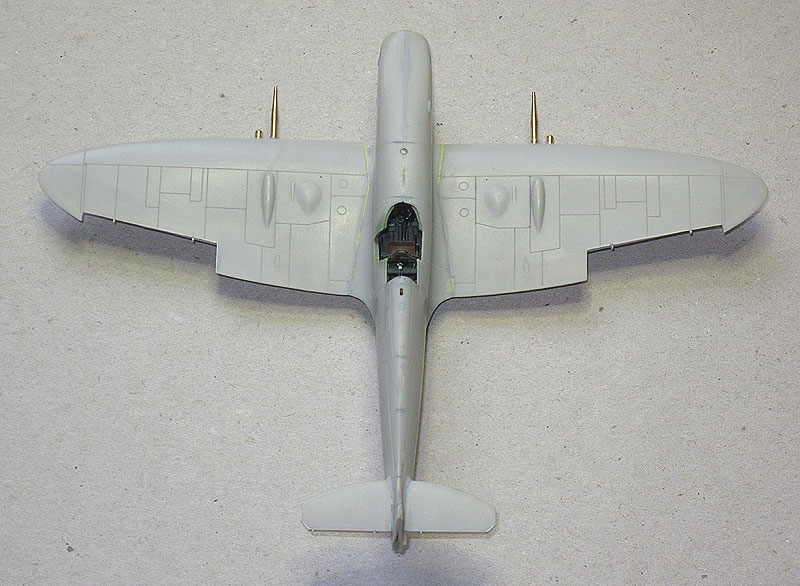
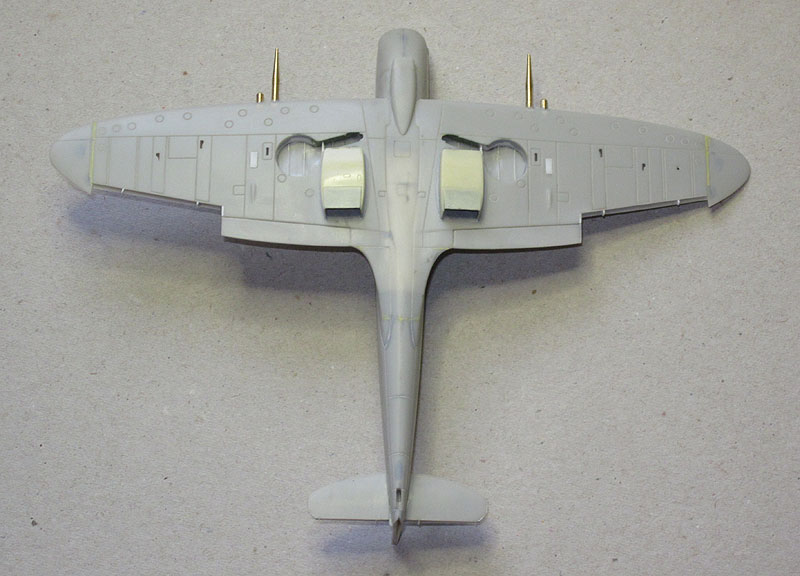
Ready for paint. The superb
turned brass cannons from Master were a vast improvement
on the kit items.
The cast radiators in place.
Note the blanking plates over the outer cannon shell ejection
chutes, these were made from .005” sheet and sanded
down until they almost disappeared. Also note how the
cockpit bottom shows clearly through the thinned wing
centre section.
Left:
Strips of .005” sheet were glued to the inside
of the rear canopy sill to make fitting the thin
vac form canopy easier.
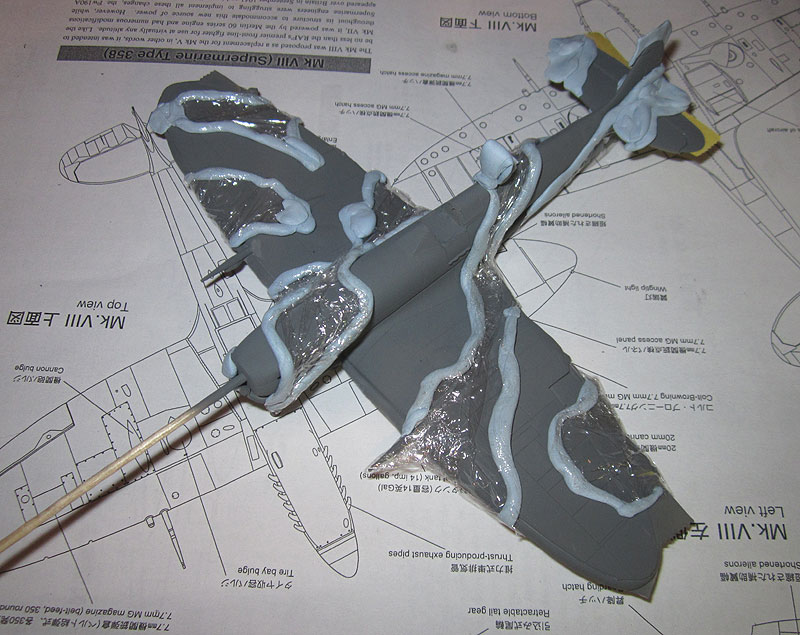
Masking for the camouflage
with blue tack. Cling film is used to seal the areas that
are to remain grey.
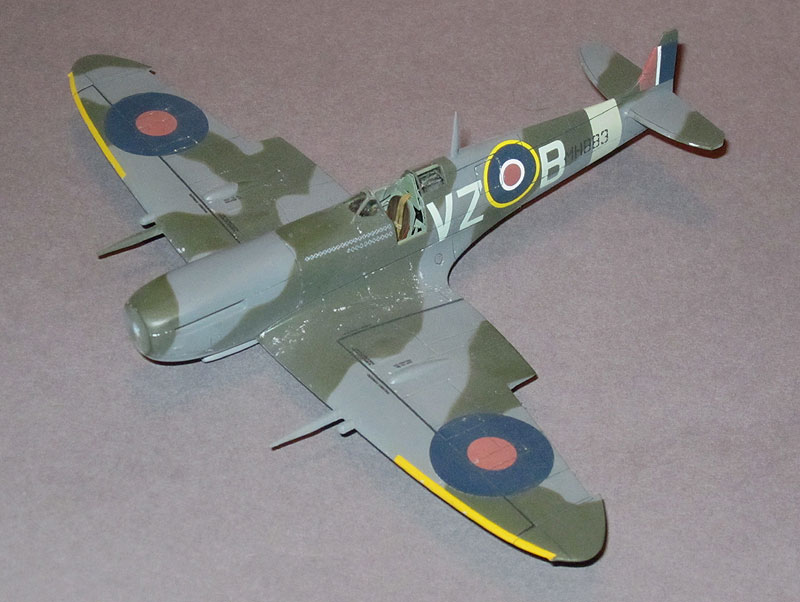
Painted and decalled,
ready for the final details.
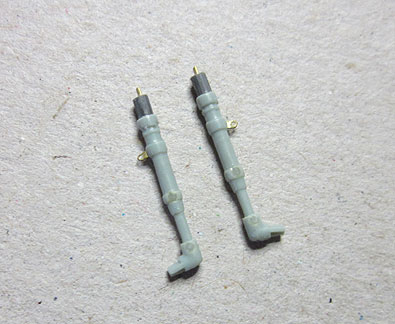
Above
left: Modified Academy Mk.XIV landing
gear legs. Note the extensions from tubing, brass rod
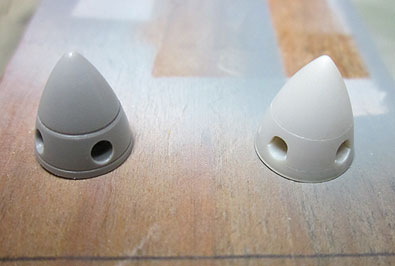
locating pins and etched uplock rings. Above
right: Quickboost and Airfix spinners.
The grossly oversized panel lines on the resin item ruined
an otherwise excellent casting.