MPC 1/25 '67 Vette Construction
(or destruction, if you prefer)
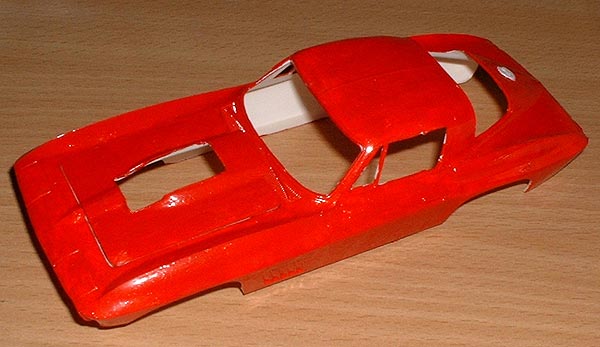
Words, even pictures, fail
to convey the true horror and ignominy this model had
suffered. Imagine, if you will, dipping a hamster into
a bucket of red vomit and then using the unfortunate rodent
as a paint brush and you will come close to visualizing
the sight that greeted me when I opened the box.
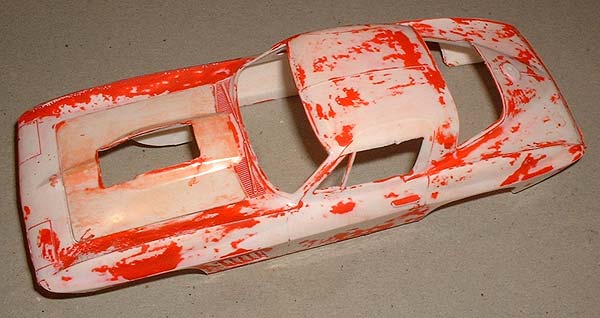
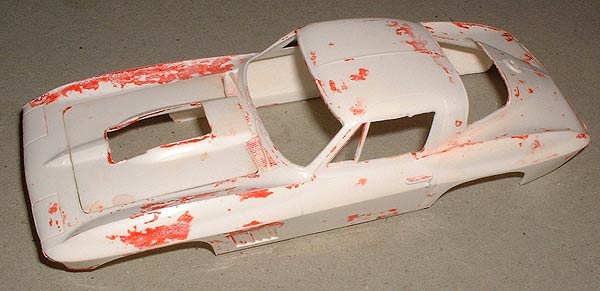
5 applications of Easy
Off's finest oven cleaner struggled to rid the plastic
of the gelatinous goo it had been coated in by some unholy
child-monster, who knows how many eons ago. I'm assuming
it was a child anyway; I suppose it could have been a
mad scientist trying to perfect a re-entry ablative for
the space shuttle program.
2 more coats of oven cleaner
later - 7 in total - and I was almost there. At this point
I lost hope (and/or ran out of oven cleaner) and resorted
to sandpaper to remove the last stubborn vestiges of red
goo.
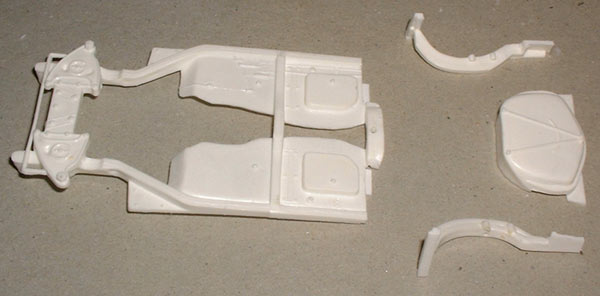
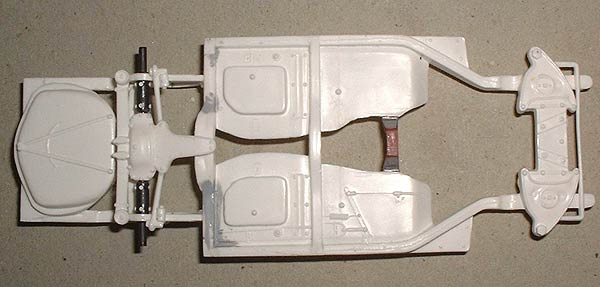
In order to fit the wider
rear wheels a wee bit of modification was neccesary, as
shown in these before and after shots. Don't ask me why
I took the photos from two different sides of the chassis.
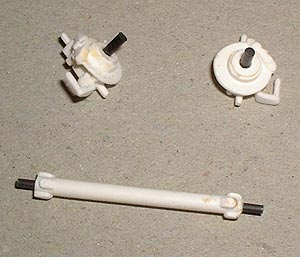
The scary part. First time
I've attempted this kind of thing, but hey, if it all
went pear shaped, I was only out 5 bucks.
Fortunately it turned out
okay and with a couple of scratchbuilt axles and an added
transmission mount (curiously absent from the mouldings)
I was all set.
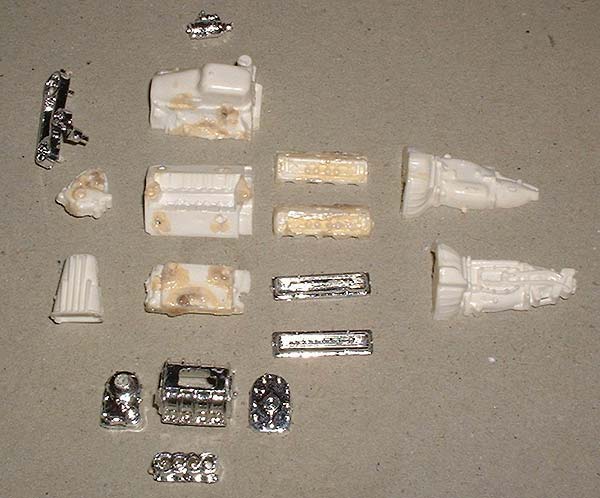
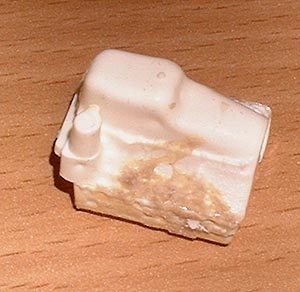
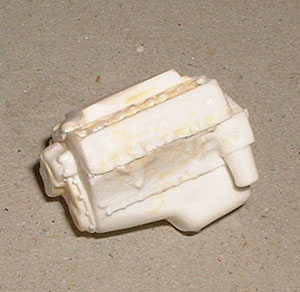
I wasn't kidding when I
said there was often more glue than plastic, as this photo
proves. Ironically, all that glue didn't make the engine
any more difficult to disassemble.
I managed to get most of
the gloop off using the Dremel and a cutting bit. Not
quite good as new, but under a coat of paint it passes
muster.
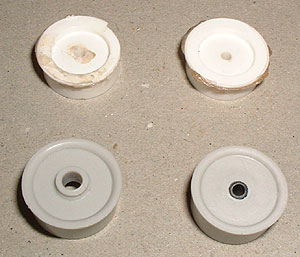
Above
left: The original rear wheels had pretty much
had the biscuit, and they weren't deep enough for the
new tires anyway. I scrounged some from the spares box
and, with a bit of modification, they worked just fine.
Above right: More gloop
had to be Dremelled off the front hubs and drive shaft,
and the lugs reinstated with .040" plastic rod.